

The short answer
A chimney inspection may cover the firebox, accessible controls, smoke chamber, flue, crown, cap, flashing, and exterior masonry, depending on access and the system. Chimney inspections and written estimates are free; tell us what you need so we can recommend the right next step.
A chimney inspection works from the bottom up: firebox, damper, smoke chamber and flue on the inside, then crown, cap, flashing and masonry on the outside, finishing with a plain account of what is sound and what is not. On an accessible chimney it is usually a single, unhurried visit, and you should end it understanding your chimney better than you did that morning.
If this is your first booking, the process can feel opaque. Below is exactly what happens and why each step exists, with the parts that matter most for homes here in West Palm Beach and across Palm Beach County.
Why It Matters More Here Than People Expect
A chimney is a working system, not a decorative feature, and the case for inspecting one in South Florida is different from the case up north. We do not burn fires for months on end, so creosote accumulates slowly. But our salt air, year-round humidity and hurricane-season wind and rain are hard on a chimney in their own way, and they work on it continually whether you light a fire or not.
Coastal moisture accelerates rust and masonry deterioration, and a single strong storm can lift flashing or dislodge a cap. Light use does not prove that the system is clear or safe; timing should follow system guidance, history, condition, prior findings, and incidents. The damage here is weather damage, and weather does not take the summer off.
Before the Visit: A Short Conversation
Most inspections start with questions about use, prior service, water, odors, animals, draft changes, and other observations. If smoke has entered the home, a carbon-monoxide alarm has sounded, or a chimney fire is suspected, evacuate and call 911; keep the system out of use and arrange contractor follow-up only after responders clear the property. This is the moment to mention a persistent draft concern, the damper that will not move, or the faint ring on the ceiling you have been ignoring. It focuses the inspection on what you have already noticed.
Step One: The Interior
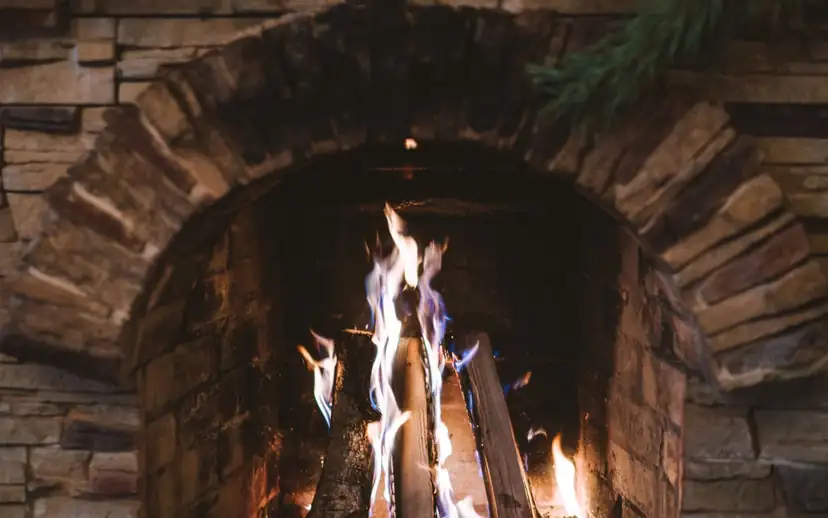
The inspection begins at the fireplace. The firebox is checked for cracked or spalling brick, deteriorated mortar joints, and any gap that could let heat reach nearby framing. The damper comes next: it should open, close and seal properly, and a damper that is stuck, warped or rusted is a common finding in humid coastal homes.
Attention then moves up into the flue, the passage that carries smoke and combustion gases out of the house. The inspector checks the liner's condition and looks for creosote buildup, along with cracks, gaps or signs the liner has started to break down. A compromised liner can let heat or gases reach combustible areas or living spaces, which is why this part is not optional.
Step Two: The Smoke Chamber and Connections
Above the firebox sits the smoke chamber, the transitional space that funnels everything into the flue. It collects deposits heavily and is prone to gaps in its parging, the mortar coating on its walls. The inspector confirms it is sound and properly sealed. If you have a gas appliance or an insert, connections and clearances are checked as well.
Step Three: The Exterior and the Roofline
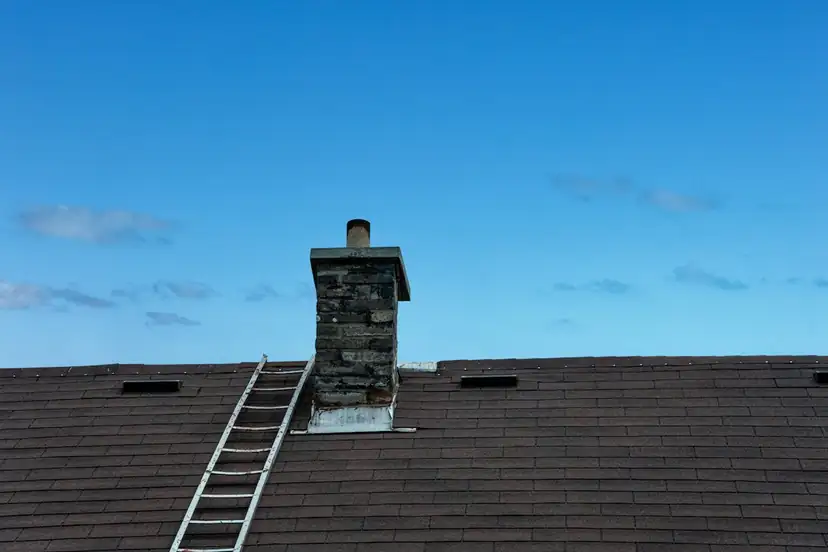
A thorough inspection does not stop indoors, and in this climate the outside is often where the findings are. Where access allows, the work moves to the roof.
- The crown. The concrete or mortar slab at the very top. Cracks here let water into the structure, which is why crowns are often rebuilt with a compatible repair material selected for the existing assembly and exposure.
- Confirm the specified material. Material selection should follow the installed system, existing assembly, measured exposure, dimensions, fabrication, fastening, code, manufacturer guidance, and approved project requirements. Different alloys and repair mortars have different properties, but no single material is required by geography alone.
- The flashing. The metal seal where the chimney meets the roof. It is a frequent source of leaks, particularly after high winds.
- The masonry. Brick, block or stucco, checked for cracking, spalling and failing mortar joints that let moisture in.
Moisture intrusion is the main enemy of chimneys in this region, so the exterior portion of the inspection carries real weight here. It is also the half a homeowner cannot do from the ground.
Step Four: The Findings
Once the walkthrough is done, the technician goes through what they found in plain terms: what is in good shape, what is wearing but not urgent, and what needs attention now, with the reasoning for each. You should leave that conversation understanding your chimney's condition without being steered toward work you do not need. If repairs are warranted, you get a clear written estimate and decide on your own timeline.
Findings vary widely. Sometimes everything checks out and the recommendation is a routine cleaning. Other times an inspection turns up a cracked crown, a corroded cap or failed flashing that calls for prompt chimney repair before the next heavy rain. Either way you finish knowing where you stand.
What You Need to Do to Prepare
Very little. Clear the area around the fireplace so there is room to work, and make sure the fireplace has been cold and unused for at least a day before the appointment. Mention any past issues or previous work. That is it.
When to Schedule One
Inspection timing may change after significant weather, water entry, unknown history, long non-use, visible damage, performance changes, or another incident. If smoke enters the home, a carbon-monoxide alarm sounds, or a chimney fire is suspected, evacuate and call 911 rather than waiting for an appointment. For coastal homes, timing should follow system guidance, use, condition, prior findings, visible changes, and incidents. Significant weather or water entry can justify evaluation without waiting for a calendar date.
Booking Yours
For non-emergency chimney or fireplace service in West Palm Beach, call (561) 830-5154 to request a free inspection and written estimate. Request a written estimate with materials, exclusions, and any applicable warranty terms before approving work. Review chimney inspection for service details.
Need chimney or fireplace help in West Palm Beach?
Call with the property ZIP code and a short description of what you see.
Call (561) 830-5154